Share
Pin
Tweet
Send
Share
Send
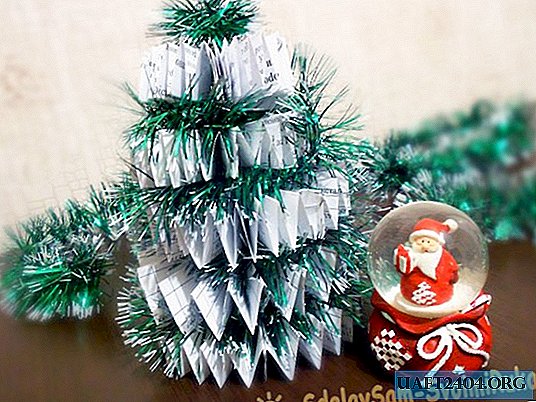
To give shine to such a Christmas tree, it is worth taking a rain. It will simultaneously replace itself with Christmas toys and fill the voids between in the paper "crown".
Materials:
- A4 paper - 4 sheets;
- paper clips;
- PVA glue;
- rain - 1 m;
- wire - 30 cm.

Operating procedure
1. A sheet of paper is cut lengthwise.

2. We fold each strip with an accordion. One fold - 1.5 cm.

3. The resulting strip is folded in half.

4. Glue the two extreme edges and fasten with a paper clip (until dry).

5. For a circle, we need two such blanks of the same size.

6. Glue them together, fasten with paper clips.

7. As a result, from a paper accordion you get a circle.

8. In order for our Christmas tree to have a shape sharpening to the top, the next circle must be made of a smaller diameter. To do this, cut the accordion strip by 1.5 cm. We make a circle, like the previous one. And each subsequent blank we cut another 15 cm. For this Christmas tree you will need 5 round parts.

9. We bend the wire tip at an angle of 90 degrees. This will allow the parts not to slide off it.

10. String the base circle (the largest) on the wire until it rests in a bend.

11. The next layer should consist of rain. We spread it at the edge of the paper part. We cut it off, leaving an additional 2 cm. We fasten the ends of the rain together. If the rain is wire-based, just twist the tips.
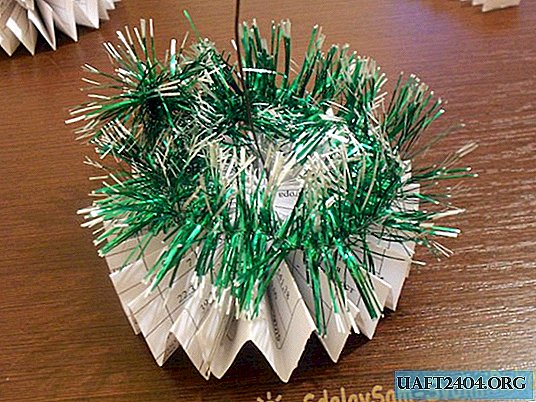
12. String the next paper circle onto the wire. And we repeat everything.

13. The top layer is made of rain. Wrap it around the wire. We bite off the excess with pliers.


Share
Pin
Tweet
Send
Share
Send