Share
Pin
Tweet
Send
Share
Send
We will need:
- Corrugated or thin colored paper;
- scissors;
- PVA glue or "Dragon" for art objects;
- Old felt-tip pens or pens according to the number of assistants;
- Semi-cardboard or cardboard for the base;
- For topiary alabaster and disposable glass;
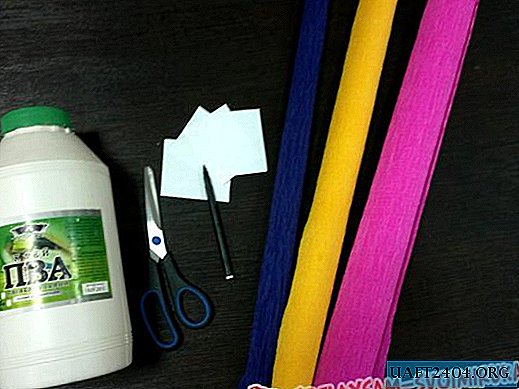
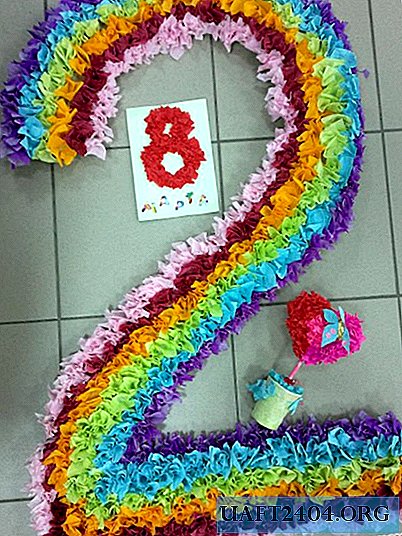
Preparing the basics. First of all, we decide what we will produce. For a big figure, you need an old box (for example, from under the TV). We draw a number pattern on it (in our case "2"), cut it out. If it is a postcard. We take semi-cardboard, draw a pattern that we will decorate with facing (in our case the figure is "8"). For a topiary, take a ball from a children's dry pool or cut out a shape from cardboard, such as a heart. There will be two such bases. Glue them together by first inserting the stem stick between the forms. After that, install the stem in a glass and fill it with diluted alabaster to thick sour cream. Wait for it to harden. If the surface will be decorated with different colors, then mark in advance where which color to use, separate the border. The stripes, as on a dash or heart, as on a topiary, there is no limit to imagination.
What to do with paper? Cut the colored paper into squares. The size depends on the size of the structure, for the figures we take the squares 5 * 5cm, for the topiary 2 * 2cm, but not less than 1 * 1cm.
Cutting technique. We take a felt-tip pen and a piece of paper. We wrap the upper part of the rod with a paper square and, holding it with your fingers, dip in glue. Then we press firmly to the base, wait a few seconds and remove the rod. The square should remain glued and fluffy, like a flower.
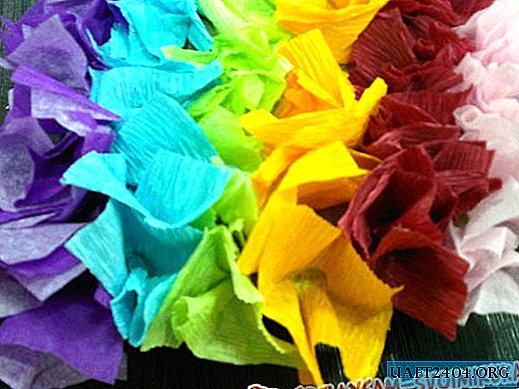
If you use paper that is too thick, it will not be saturated enough to adhere. We repeat all the actions, and glue the next piece close to the previous one, slightly moving the ends of the "flower". Glue the edges of volumetric figures in a separate row of squares so that the joints of glued bases are not visible.

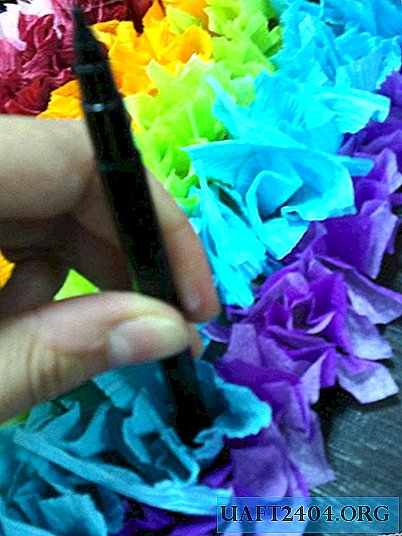
Painstaking work. Of course, the larger the figure, the longer it will take to sweat. It is very important to note and tell you, dear needleworkers, that the objects made in this technique cannot be wrinkled, because paper will lose fluffiness. But you save and remember for a long time a picture or craft, bright, author's, created with the children. In addition, it can be easily restored if necessary, simply by replacing the affected fragments.


Share
Pin
Tweet
Send
Share
Send

