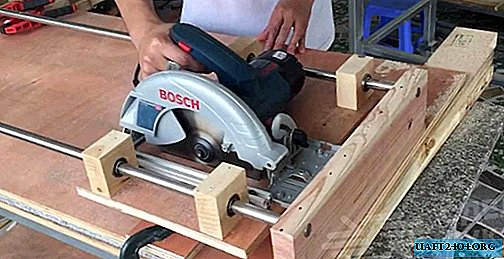
In a home workshop, using a hand-held circular saw is not always convenient. While the use of a homemade table with two guides for installing a manual circular makes it possible to make the cross cutting process more accurate.

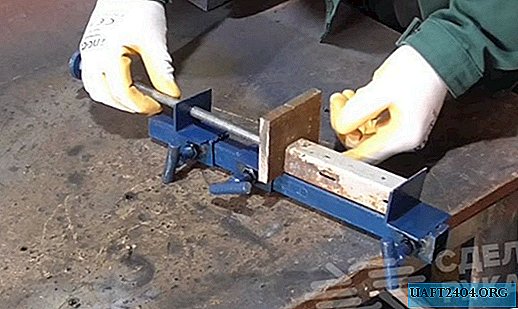
First, it will be necessary to make fastenings (seats) for the guides. For this it is necessary to cut four wooden blanks of square shape. Then in them in the center you need to drill through holes.
At the next stage, it is necessary to press bearings into the holes drilled in the workpieces, which are necessary for the smooth movement of the platform (or carriage) with a hand-held circular saw mounted on it.

The table manufacturing process
After that, the master makes a platform for the circular from a piece of plywood, and drills holes for its fastening. As guides used round metal bars. Their length depends on the size of the table.

The master himself cuts the table out of a sheet of plywood. To it, he fastens two boards at the edges, in which you first need to drill holes for metal rods. Then the circular needs to be fixed on the site.

On the table itself, stops are additionally fixed: transverse and at an angle. For details on how to make a table with rails for guides for installing a manual circular saw with your own hands, see the video on our website.

