Share
Pin
Tweet
Send
Share
Send
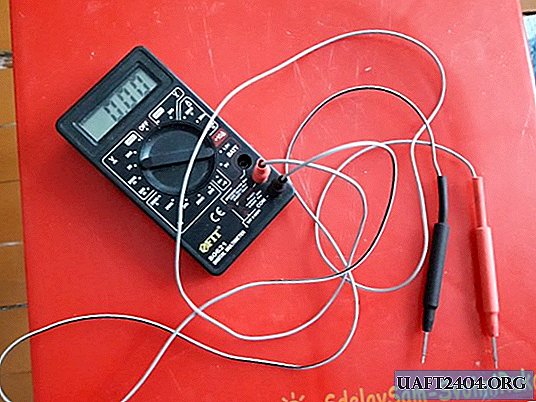
Quite often, such a nuisance happens as a wire (cable) break near the plug. Especially often this happens with wires that are subject to constant vibrations and movements. For example, with headphones, chargers, multimeter probes and the like. We notice a gap, as a rule, only after the thing used ceases to work. Yes, and to notice this in fact is quite difficult. If only by chance we see ... The gap does not occur immediately, with the exception of, of course, gross mechanical impact. First, the cable sheath is usually damaged.

After a certain period of time, the veins of the copper wire themselves break due to constant excesses. To prevent this trouble, you need to inspect the wires every time before starting work. But who and when will be engaged in this inspection, if I can’t wait to get started as soon as possible ... Today we will talk about the probes of the multimeter. So, so that the work does not arise at the most inopportune moment, I propose to make spare probes for the multimeter. The work ahead is not dusty, not boring and not difficult and, I would even say, interesting.
Will need
- Soldering iron, tin and flux.
- Scissors.
- Clerical knife.
- Heat shrink tubes (different calibres).
- Second glue and soda.
- Two thin felt-tip pens.
- A tube or pin, with a diameter suitable for the connector for the probe in the multimeter.
- The pin from the CD drive (along which the laser head moves), you can also use an ordinary spoke.
- Lighter.
- The wires are electric, copper, flexible (with a maximum working voltage of at least 300 volts).
- Insulating tape.
- A drill with a cutting disc, or good nippers, for dividing the studs (or knitting needles) into fragments.

We make probes with our own hands
First, prepare the wires. Alas, I did not find the red and black cables in my household, so I took a neutral gray one on both probes. The cable is designed for a maximum operating voltage of 300 volts, despite the small thickness. Cables from the "native" multimeter probes are designed for a maximum operating voltage of 600 volts.

So the new probes for home use will do just fine! Moreover, this is only a temporary replacement for failed probes, until the original ones are purchased. So, we measure new wires, along the length of the old ones, and cut off the necessary pieces.

We clean with a clerical knife of 5 mm. from the ends of both wires, and tin them with tin for further convenience when soldering.

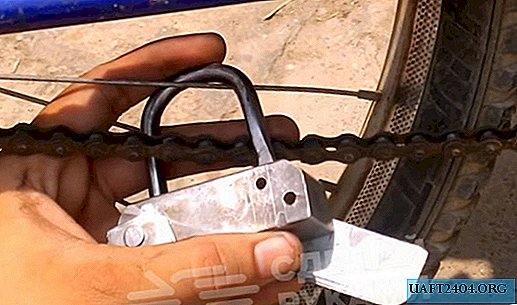
Next, take the pin from the laser CD drive, and cut it in half.

Why a hairpin - it fits perfectly in its parameters, it has sharp ends and it is made of excellent steel. Next, we process the sawn edges of the hairpin with flux, solder the tinned wires to them at one end of each wire, put on the heat pipes, and seat them with a lighter.

Now we cut off the upper part from the felt-tip pens, 5-7 cm. These will be the probe handles.

We thread the studs, with the wires soldered to them, from top to bottom so that the stud comes out of the tip of the felt-tip pen, from where the writing pen was sticking out. We drop a drop of second glue there, and throw a pinch of soda to fix it all from the inside. We pass the obtained probe handle into the heat-shrink tube of red color, and seat it with a lighter. We repeat the same procedure with the second probe, only now with a black thermotube.


Well, the upper parts of the probes are ready. It remains to make the plugs. For the plug, I used a brass tube from the antenna - it fits perfectly in diameter to the connector in the multimeter. Saw off pieces from the tube, 3 cm each.


We stick the tube into the connector. The segments remaining from the felt-tip pens are ideally suited for the plug housing in the multimeter connector. We put a plastic one over the brass tube, measure it, and cut it off.


Next, we solder the remaining ends of the wires to the brass tubes, increase the diameter of the duct with plastic tape for them, grease them with second glue and insert them into the plastic tubes. On top, you can fix everything with a second glue with soda.

We cut 4 cm each of the thermotubes, red and black, put them on the corresponding plug, and seat them with a lighter.


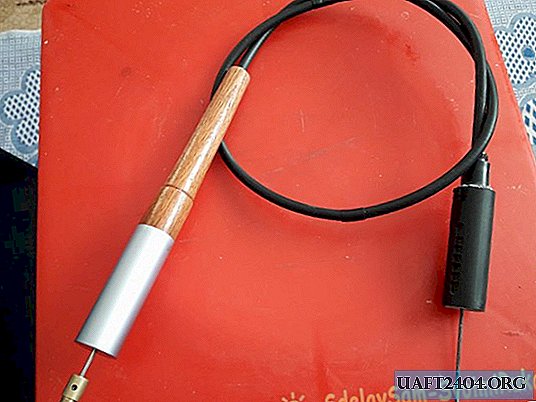
That's done. Nothing complicated. All the work took about 40-50 minutes. Now you can try out new probes.


Caps can be made from the braid of a usb cable. We put on a red heat tube on a suitable section of the braid, and we seat it with a lighter. Equal scissors. For a black stylus, mono and without thermotube, the braid itself is black.


Watch the video check
Share
Pin
Tweet
Send
Share
Send