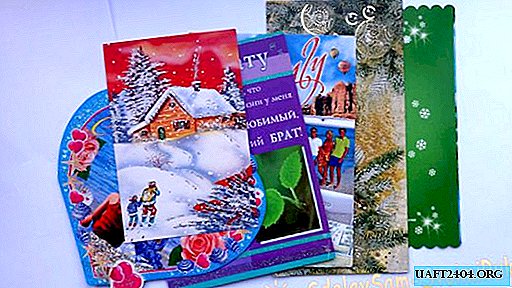
To make one of these Christmas tree decorations, we needed:
- postcards 2 pcs.;
- scissors;
- a compass or a small glass;
- PVA glue and super glue;
- pencil and ruler;
- ribbon;
- rhinestones or sequins.
The fact is that while I was still at school, I collected postcards, and after graduation I didn’t throw them anywhere and didn’t give them to anyone, so I have a large selection of postcards for various kinds of crafts. Since we are going to make a New Year’s toy, I chose the most brilliant ones from my variety of postcards, and it’s not too bad to cut them.
On the back of the two postcards we have chosen, a pair of compasses or like us, using a small glass-stack we draw 20 identical circles.

And carefully cut them with scissors.

Our mugs turned out to be 40 mm in diameter. But you can make mugs of any size, the main thing is that all circles have the same diameter.

Now in each circle on the reverse side we need to inscribe an equilateral triangle. We made his template out of cardboard, and circled the triangle with a pencil, duplicating each circle.

Then on all 20 circles we bend on three identical sides, that is, bend the edges of the circles along the lines of the triangle inscribed in it.
Tip: do it better with a ruler so that the folds are smoother.

I decided to make the top and bottom of the toy from a lilac postcard, and the middle from green. Therefore, then we take the first five circles of lilac color and with the help of PVA glue we glue them together in turn for the lateral bent sides. It should turn out like in the next photo.

By analogy, we make the bottom of the toy ball from the remaining five lilac circles.
Next, we need to make the middle of the remaining 10 green circles. To do this, we glue them together in a strip with PVA glue, and lock them in a “ring”. The correct way to glue in a strip is shown in the following photo.

Such three parts of the future New Year's Christmas tree toy should turn out: top, bottom and middle.

Since we plan to hang this toy on our home Christmas tree, it is necessary to make a loop, on which we will hang it. To do this, we carefully insert both sides of the ribbon into the center of the upper part of the toy and tie it on the inside with a couple of knots. The ribbon should be about 20 cm, otherwise our toy will look ugly. That is, the length of the ribbon should correspond to the size of the toy.

Now gently glue with PVA glue all the parts of the toy ball together.
I made this toy with my four-year-old son, therefore, at the joints of the toy, bumps and holes are visible in some places. To hide them and add beauty and sparkle to our toys, we glued round silver rhinestones, which we left from the children's crafts, using super glue. But you can use sequins or shiny beads instead.
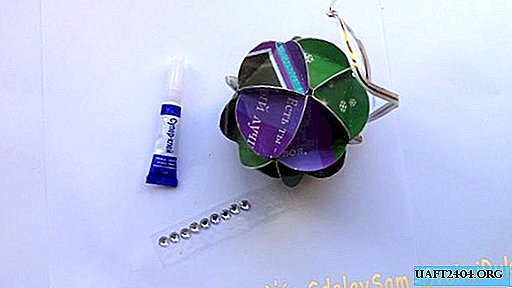
Here is such a wonderful and original ball-toy for the New Year tree we did.

But it is absolutely simple to manufacture and even school-age children will be able to make it.
Happy New Year!

