Share
Pin
Tweet
Send
Share
Send
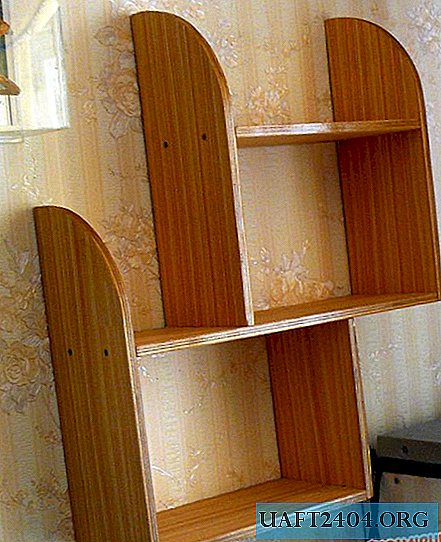
For this you will need:
- plywood 10 mm thick;
- jigsaw;
- drill, drill;
- screws (screws) - 16 pieces;
- dowel hook - 2 pieces;
- grinding skin;
- varnish;
- self-adhesive film;
- pencil, compass, ruler.

The shelf consists of seven parts, two of them are identical in pairs.

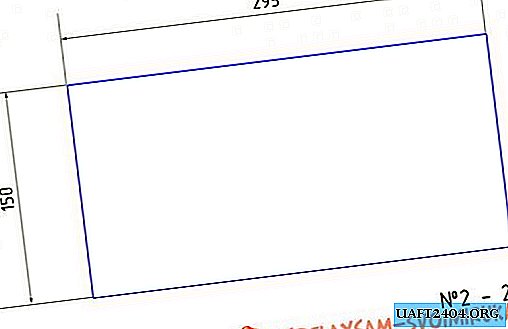
All parts are cut with a jigsaw with a fine-toothed nail file of 10 mm thick plywood. Details are fastened with screws 3,5x40 yellow (golden) color with a secret hat. Places for screws are marked only on the planes.


We drill holes so that the screw passes freely, countersink holes. We drill holes in the ends in the middle of the plywood thickness, the location of the holes can be easily calculated independently. To fasten the shelf to the wall, drill holes for the dowel hook about 1 cm from the edge in the corners of the upper horizontal and large horizontal shelves.

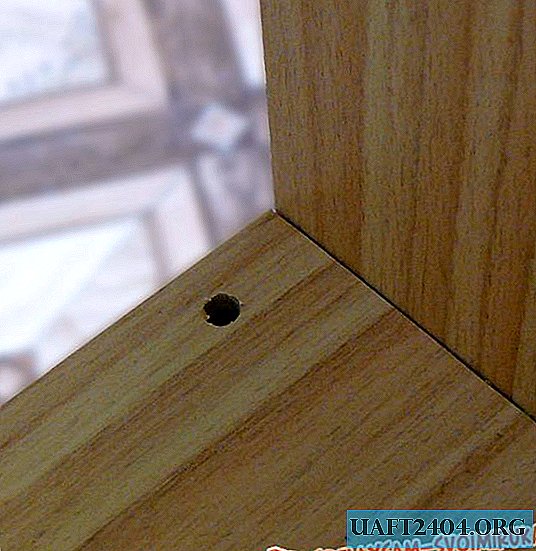
After all the parts are ready, we clean them. Radial places smoothly cleaned. If there are defects on the plywood - putty and clean. We varnish on all sides. To decorate the plane, glue it with a film. Do not forget to mark the holes. Parts are ready for assembly. Assembly order. We attach all the vertical elements to the longest horizontal part No. 1. Then we fasten the remaining horizontal ones. We attach a shelf to the wall. We mark the installation location of dowel hooks. Set the hooks. We hang a shelf. All.

Share
Pin
Tweet
Send
Share
Send

