Share
Pin
Tweet
Send
Share
Send
For the master class we take:
• Salad sheet of cardboard A4 format;
• Paper with spring motifs in green and yellow colors, several different sheets;
• Card layout;
• Floral pictures and rhymes about spring;
• Circles cut down small and large;
• Paper hydrangea flowers white-blue;
• Stamp "Happy Holiday" and blue-blue ink;
• Polymer frame of lemon color;
• White ribbon with pompom;
• Lace mint on an elastic band;
• White cotton lace;
• Salad branches;
• Peach gardenia flower, complex stamens and berries in sugar; Satin ribbon satin not wide;
• Wooden buttons of a flower;
• Pearl half beads;
• Rep ribbon with a print width of 25 mm;
• Polymeric flowers of small diameter;
• PVA glue, ruler, scissors, double-sided tape, simple pencil, glue gun.

The width of the sides of our postcard will be 9 * 9 and 8 cm, and in height it will turn out to be 18 cm. The distance between the sides and tails can be clearly seen in the nashem to make a pocket for the box.

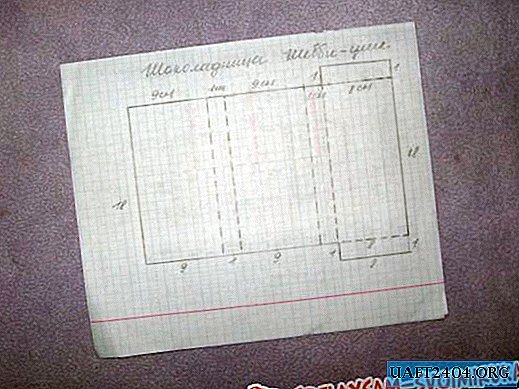
We transfer the dimensions of the card completely according to the scheme to the salad cardboard, which we immediately place in a horizontal position. All bending points are made using the end side of the scissors under the ruler. You can try on a chocolate in your pocket, it’s ideal to go there.


Now we take some sheets of scrapbook paper and cut out rectangles of such sizes as in the photo.


Now a few rectangles need to be scratched around the edges with scissors. This is called the giving of antiquity, to the style of shabby chic.


Now we stick small blanks to large ones on strips of double-sided tape. Sew them with a machine.


Now we glue circles, pictures and rhymes on top.


We also sew them on with a machine. Now we will decorate the front blank of the postcard. Cut off a wide rep ribbon, lace mint and satin ribbon.


We glue the strip of tape to the base on the cardboard front and back, this will be the tie of the card. Now we glue all three blanks on the base with strips of adhesive tape.


Separately, each side is sewn with a machine. Glue PVA glue the pocket, forming a box.


We take a stamp, put it on an acrylic block and stamp the inscription "Happy Holiday" on white paper. It must be toned with the same ink.
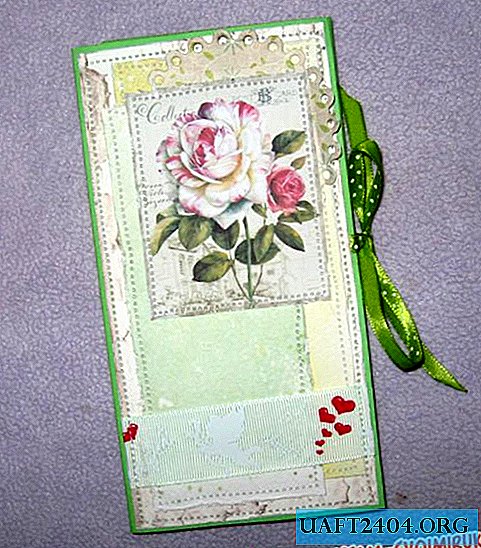

We glue the inscription at the bottom of the postcard. Under the picture we spread and glue first the white lace, then the mint and the ribbon with the help.


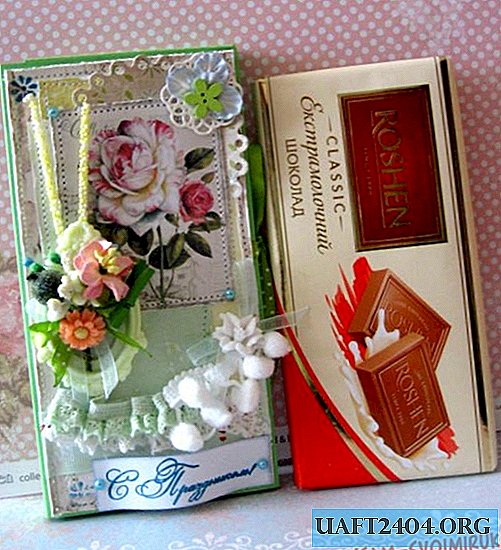
It remains only to glue a little frame, a bouquet and other decor. We glue everything, as in the photo. All the postcard box is ready! Thanks for your attention!


Share
Pin
Tweet
Send
Share
Send

