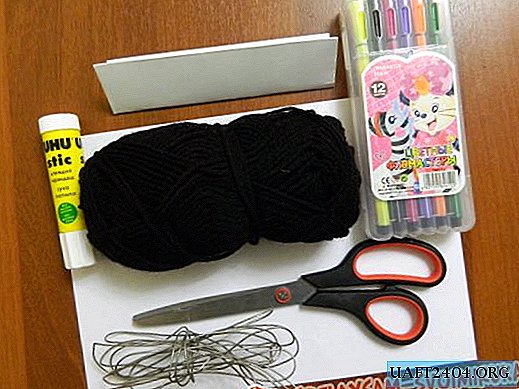
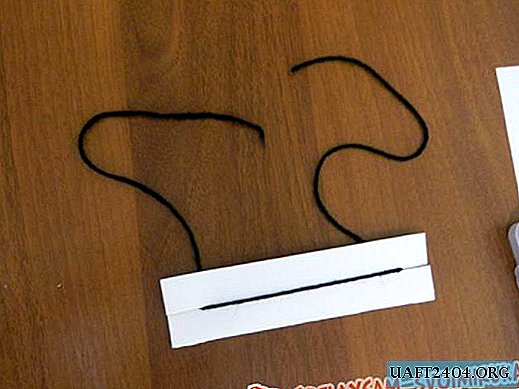
First you need to make the body of a spider: for this, take a small rectangular piece of cardboard (you can fold a paper sheet several times) and make cuts on the sides, put the woolen thread into the cuts, wind the yarn on top. After that, remove the thread from the cardboard and tightly tie the skein.
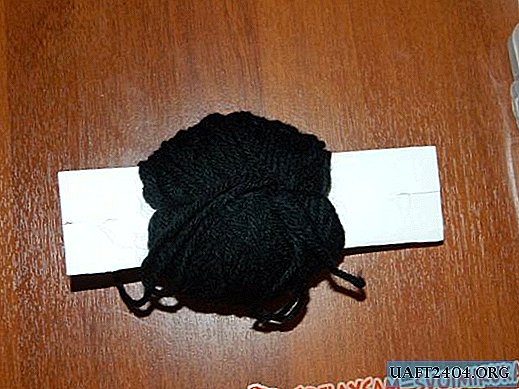
Now you can gently pull out the cardboard. Turn over the skein and tie it with thread on the other side.
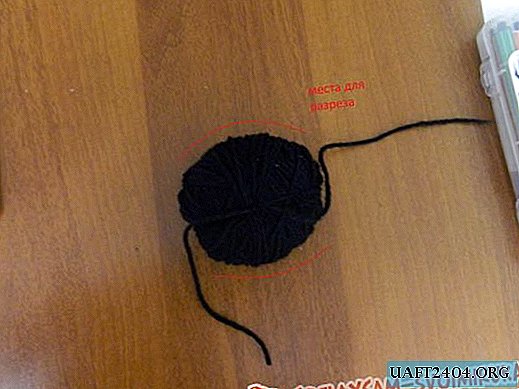
Now gradually cut the threads from the sides shown in photo 4, just be careful not to cut the fastening thread.
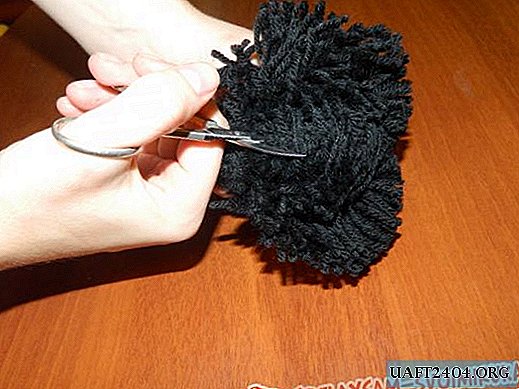
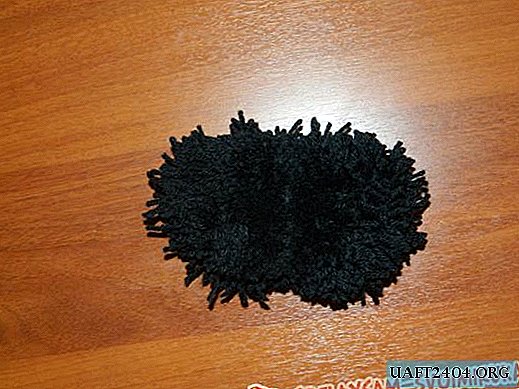
Here is what should happen.
The next step is to create spider legs. To do this, cut 4 pieces of wire, they can be either the same length or different. It is better to round the ends, so it will not only be safer, but it will also be easier to fix the winded thread.
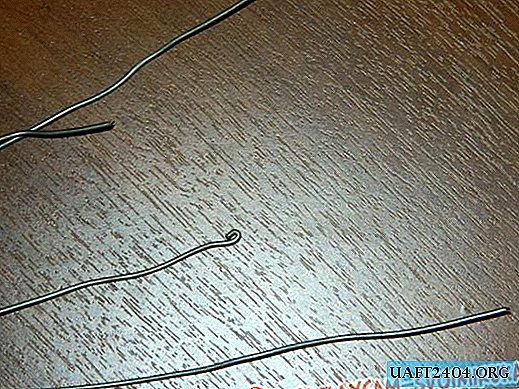
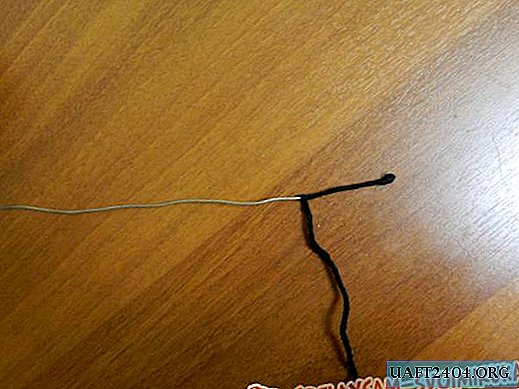
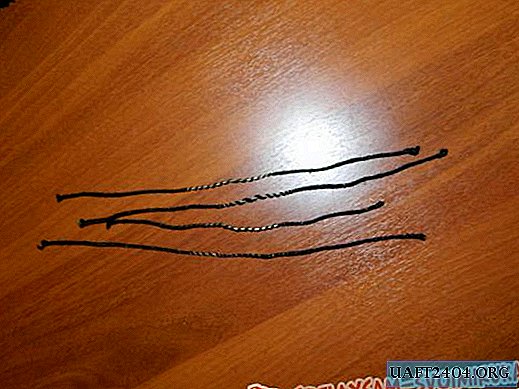
To keep the yarn better on the wire, the thread should be greased with glue-pencil and wound it in a circular motion. The middle of the foot can not be tightly wrapped: it will save your time and yarn.
After the paws are ready, proceed to the penultimate stage. I decided that my spider will have big eyes and teeth, you can do as you want - squint, stick out tongue, smile or something else. So, on white paper, draw two eyes and two fangs, then cut it out.
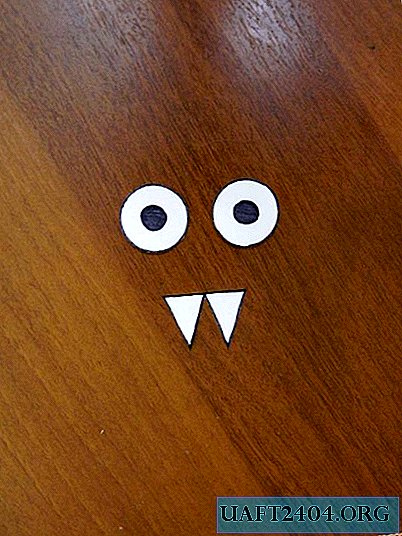
The final step will be the assembly of a funny spider. Poke paws, bend them to look like real ones, then glue eyes and teeth. Here the spider is ready, you can attach a rope to it and hang it in a corner.
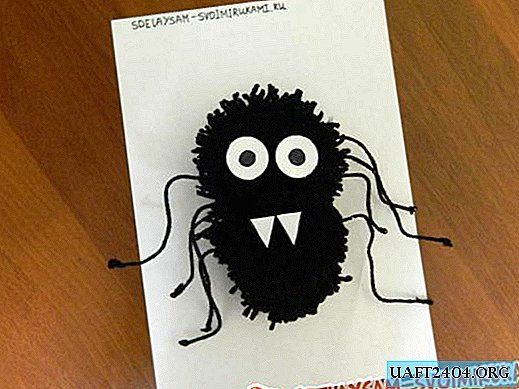
This craft can be done with children, they will like to participate in the process, coming up with new colors or funny faces of spiders.


