So, the first thing we need to do is make a pattern. Here we will not make any measurements of the child, especially since at this age it is quite problematic. I took the boy’s pants, which he currently wears, and they fit him perfectly. I turned these trousers inside out so that one half turned out, put on a sheet of paper and circled.
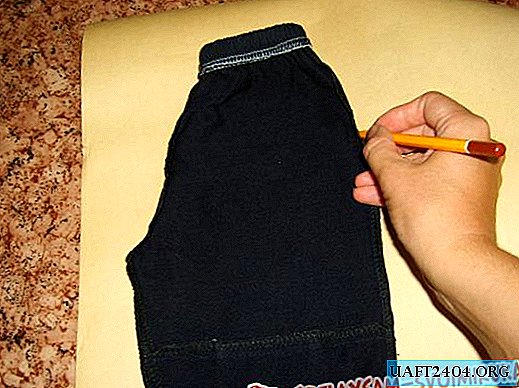
Then, directly on the pattern, you will need to add on top 1.5-2 cm for the girdle and below the same length for the hem. Determine the length of the trousers yourself, I chose - just below the knee, sort of breeches. There is no need to make allowances for the side seams, as we circle the trousers with seams.
On the pattern should be two parts of the product - front and back. Please note that they are different. The back is slightly longer and deeper than the front. To get both parts, you need to lay the trousers on paper, first with the front and then the back side.

Cut out the resulting patterns. The next step is to transfer the drawing to the fabric. There should be four parts: two front and two rear. In my case, I moved the front and back patterns to the edge of the jeans, so that I got a finished side seam. Thus, I formed two details.


It remains to stitch the resulting blanks. Owners of a sewing machine will complete this task quickly and easily. I, for lack of this, had to work hard. First you need to make the back and front seam, and then step, that is, the inner. I used the needle stitch. In this case, the stitches are made at a distance from each other, and the beginning of the next stitch is behind the previous one.

On the resulting shorts, we hem the bottom and waistband, insert the elastic. It would be nice to overcast the stitched edges. I did it by hand, with a seam.

Shorts are ready! Now, having a pattern, you can design shorts of different lengths, and even pants. After all, there are never many of these outfits in the baby’s wardrobe.

